Complete Sales Cycle
This guide documents the complete sales flow in the EasyPay app as designed in the interactive walkthrough — from opening the app and logging in, through picking products, to completing payment and issuing the invoice.
Closing the session and handing over the cash revenue is covered in a separate page: Opening & Closing a Session.
1. Logging in to the POS
When the app opens, follow these steps to log in:
Select the interface language (عربي / English).
Select your name from the employee list (searchable by name).
Enter your personal PIN on the number pad, then tap “Confirm”.
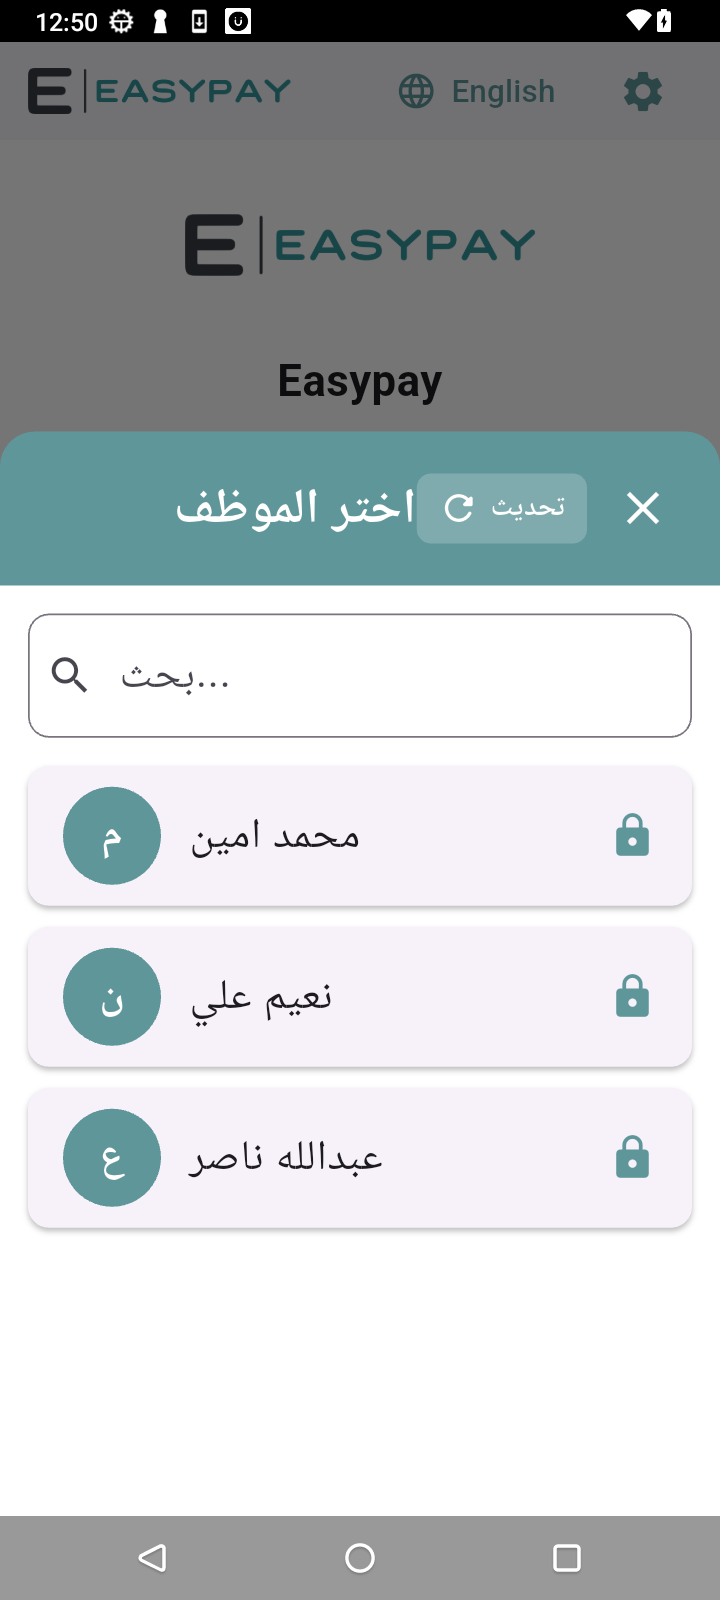

As soon as the PIN is confirmed, the employee lands directly on the POS main screen.
2. Main screen and store contents
The main screen shows the product grid split into categories (e.g. All, Cookies, Coffee, Drinks) as tabs at the top. Each product card shows its photo, name, and price.
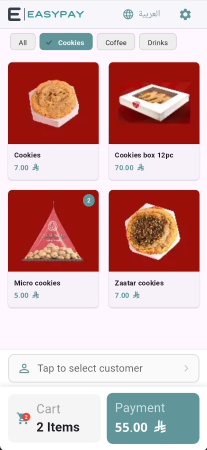
Switch categories using the tabs at the top for quick access to a specific category.
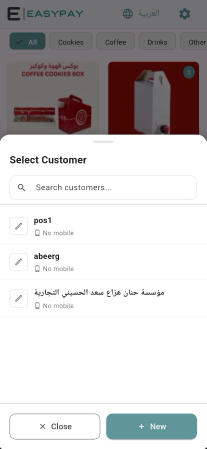
The “Select Customer” button below the product list links the invoice to a customer, by searching an existing one or adding a new one (optional).
A fixed “Cart” / “Payment” summary at the bottom shows item count and total live.
3. Adding products to the cart
Tap any product card to add it to the cart instantly — the cart total and amount update automatically with every tap. Tap the same product again to increase its quantity.
Some products (customizable items) open an add-ons window before adding to the cart, to pick a size or extra ingredients and confirm the quantity.
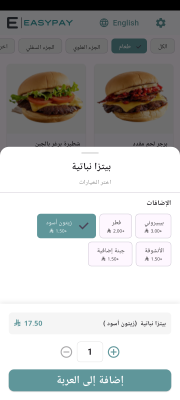
A detailed walkthrough of cart management (quantities, removal, notes) is in a separate page: Adding Products to the Cart.
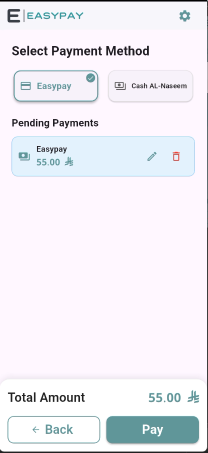
4. Completing payment
After adding all the required products, tap the “Payment” button at the bottom to go to the payment screen.
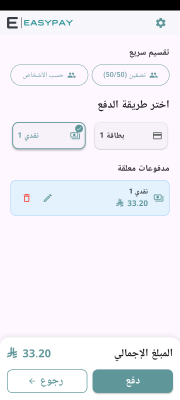
Choose a payment method: “Cash” or “EasyPay” (electronic card payment).
The amount appears in a “Pending Payments” list — it can be edited or removed before confirming.
Tap “Pay” to complete the transaction.
The invoice can also be split across more than one payment method or between several people via the “Quick Split” option at the top of the payment screen.
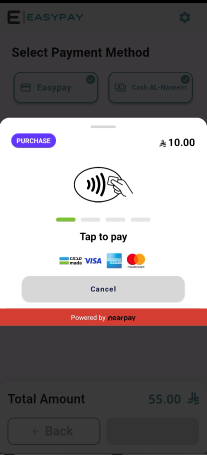
When choosing electronic payment, a “Tap to pay” screen appears — ask the customer to tap their card or phone on the device (NFC).
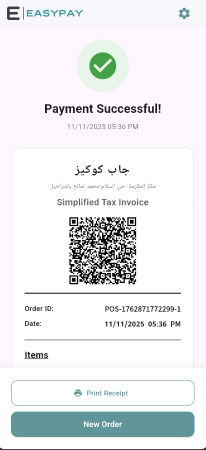
Once payment succeeds, the transaction closes automatically and an invoice is issued, ready to print or send to the customer.
Key takeaways
Log in to the POS in three steps: language, then employee, then PIN.
Browse the product grid and categories on the main screen, and optionally link the invoice to a customer.
Add products to the cart with a single tap (or via the customization window for configurable items), and increase quantity by tapping again.
Choose a payment method (cash or EasyPay), optionally split the bill, and complete the transaction — via Tap to pay for electronic payment.