

Discount & Promotion
The Discount & Promotion app is where point-of-sale offers are created and managed: percentage discounts, free products, fixed-amount discounts, and discount codes. Each offer has a defined validity period and can be published to all points of sale or restricted to specific ones.
Benefits of Discount & Promotion
Four ready-made offer types covering the most common promotional campaigns.
A validity period for each offer, with a start date and an end date.
The option to restrict an offer to specific points of sale.
An instant preview showing the discount's effect on products before saving.
Archiving expired offers without deleting them.
How to access Discount & Promotion
From the system's home page, click the “Discount & Promotion” icon.
Browsing offers
The main screen shows a card for each offer:
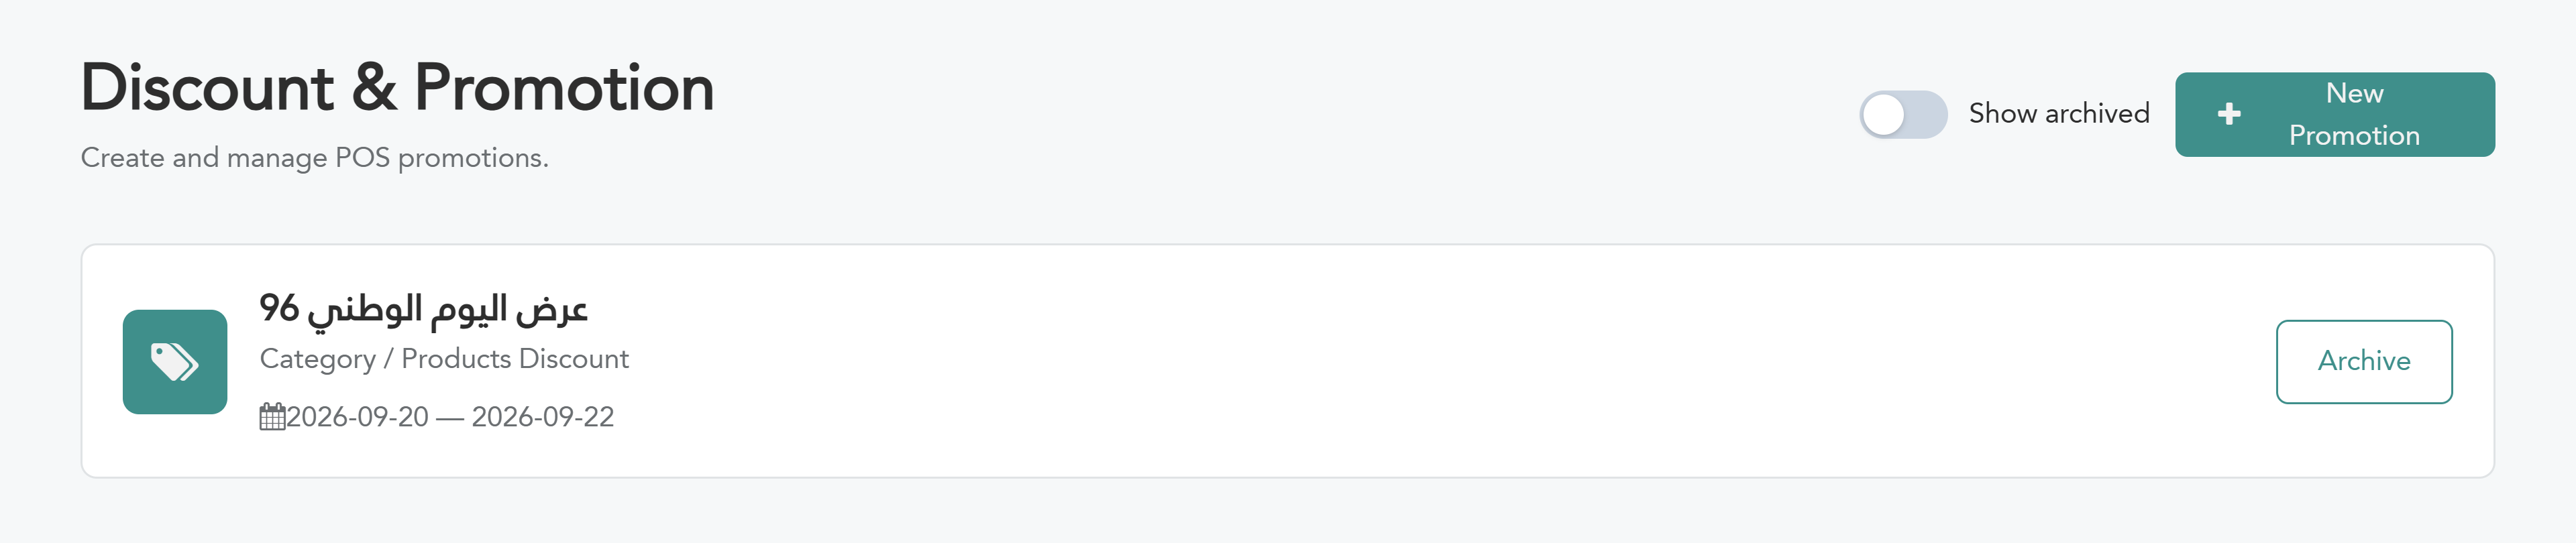
Offer name.
Offer type — for example: Category / Products Discount.
Offer period — the start date and the end date.
“Archive” — to hide the offer from the list.
At the top of the screen there is a “Show archived” toggle to display archived offers, and a “New Promotion” button to create an offer.
Creating a new offer
Click “New Promotion”. The “Choose Promotion Type” screen appears; choose the suitable type:
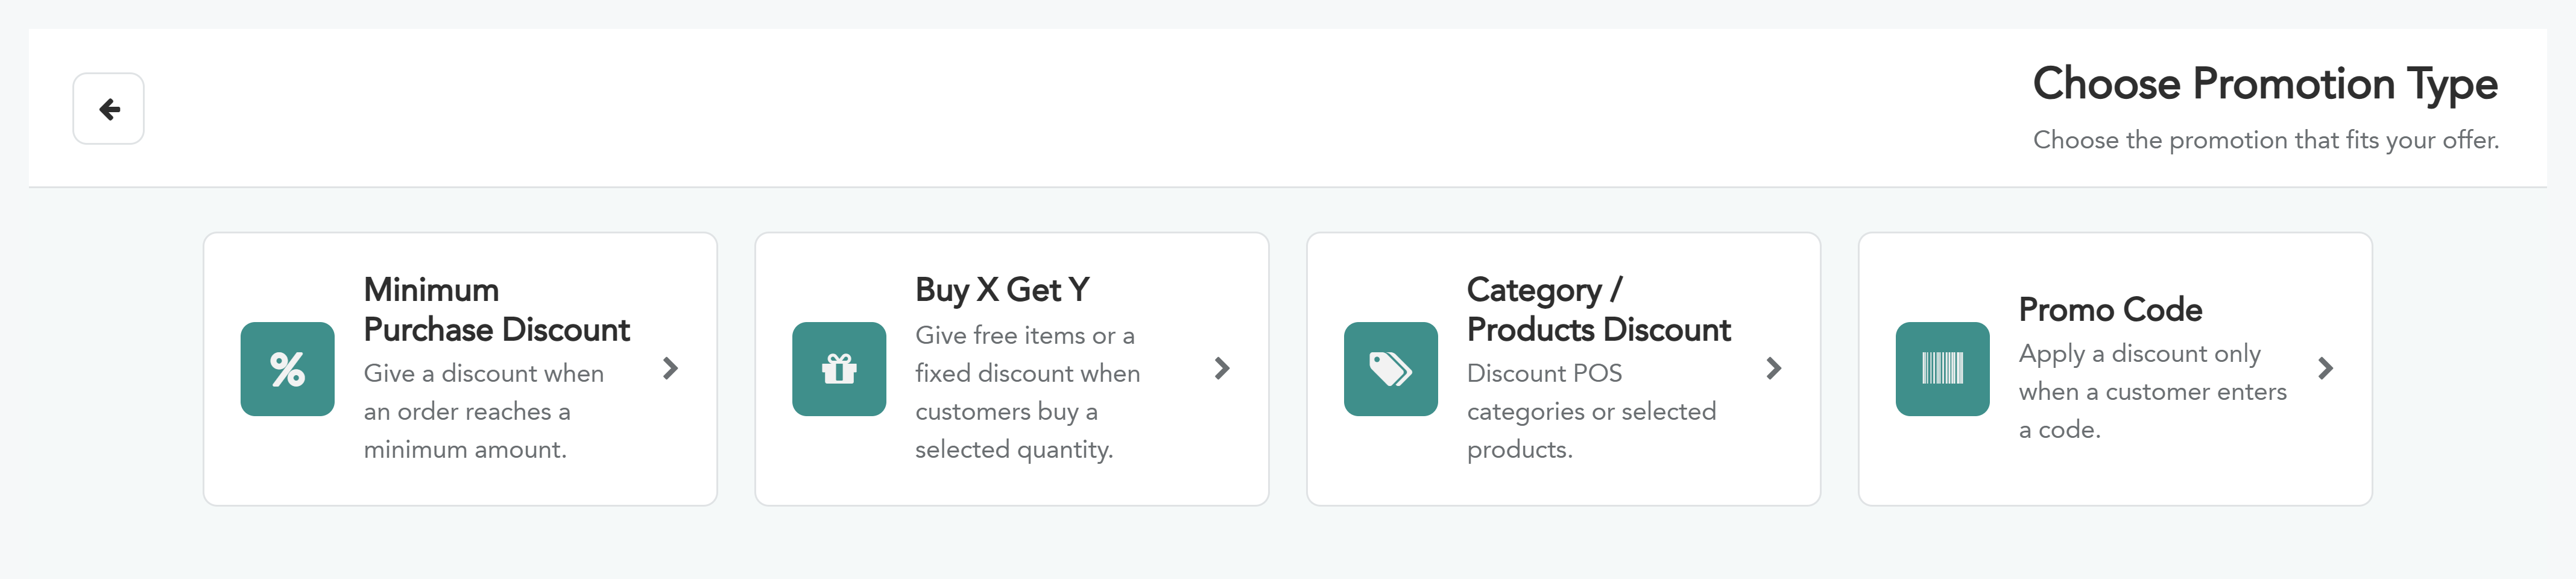
Minimum Purchase Discount — a discount when the order reaches a minimum amount.
Buy X Get Y — free products or a fixed discount when a specific quantity is purchased.
Category / Products Discount — a discount on POS categories or specific products.
Promo Code — a discount applied only when the customer enters the code.
Each type has its own page explaining its fields under “Offer Rules”.
Fields common to all types
Promotion Details:
“Name” — the offer name as it appears in the list.
“Start Date” — the first day the offer applies.
“End Date” — the last day the offer applies.
Point of Sale:
“Publish to Point of Sale” — enabled by default to make the offer available at points of sale.
“Restrict to POS shops” — choose the points of sale the offer applies to, or leave it empty to publish to all points of sale.
The “Save” and “Discard” buttons appear at the top of the screen as soon as any field is edited. If you leave the screen without saving, an “Unsaved changes” message appears so you can choose between “Discard” the changes or “Continue Editing”.
Clicking “Discard” shows the same confirmation message, then clears the form without leaving the screen.
Warning: If a message appears on save stating that creating records is not allowed (Access Management), your account does not have permission to create offers — contact the system administrator to be granted access.
Editing or archiving an offer
Click the offer card to open the “Edit Offer” screen with the same fields as creation.
Click “Archive” on the card to hide the offer from the list. To view archived offers, enable “Show archived”: archived offers appear alone with an “Archived” badge, and each has a “Restore” button to return it to the offers list.